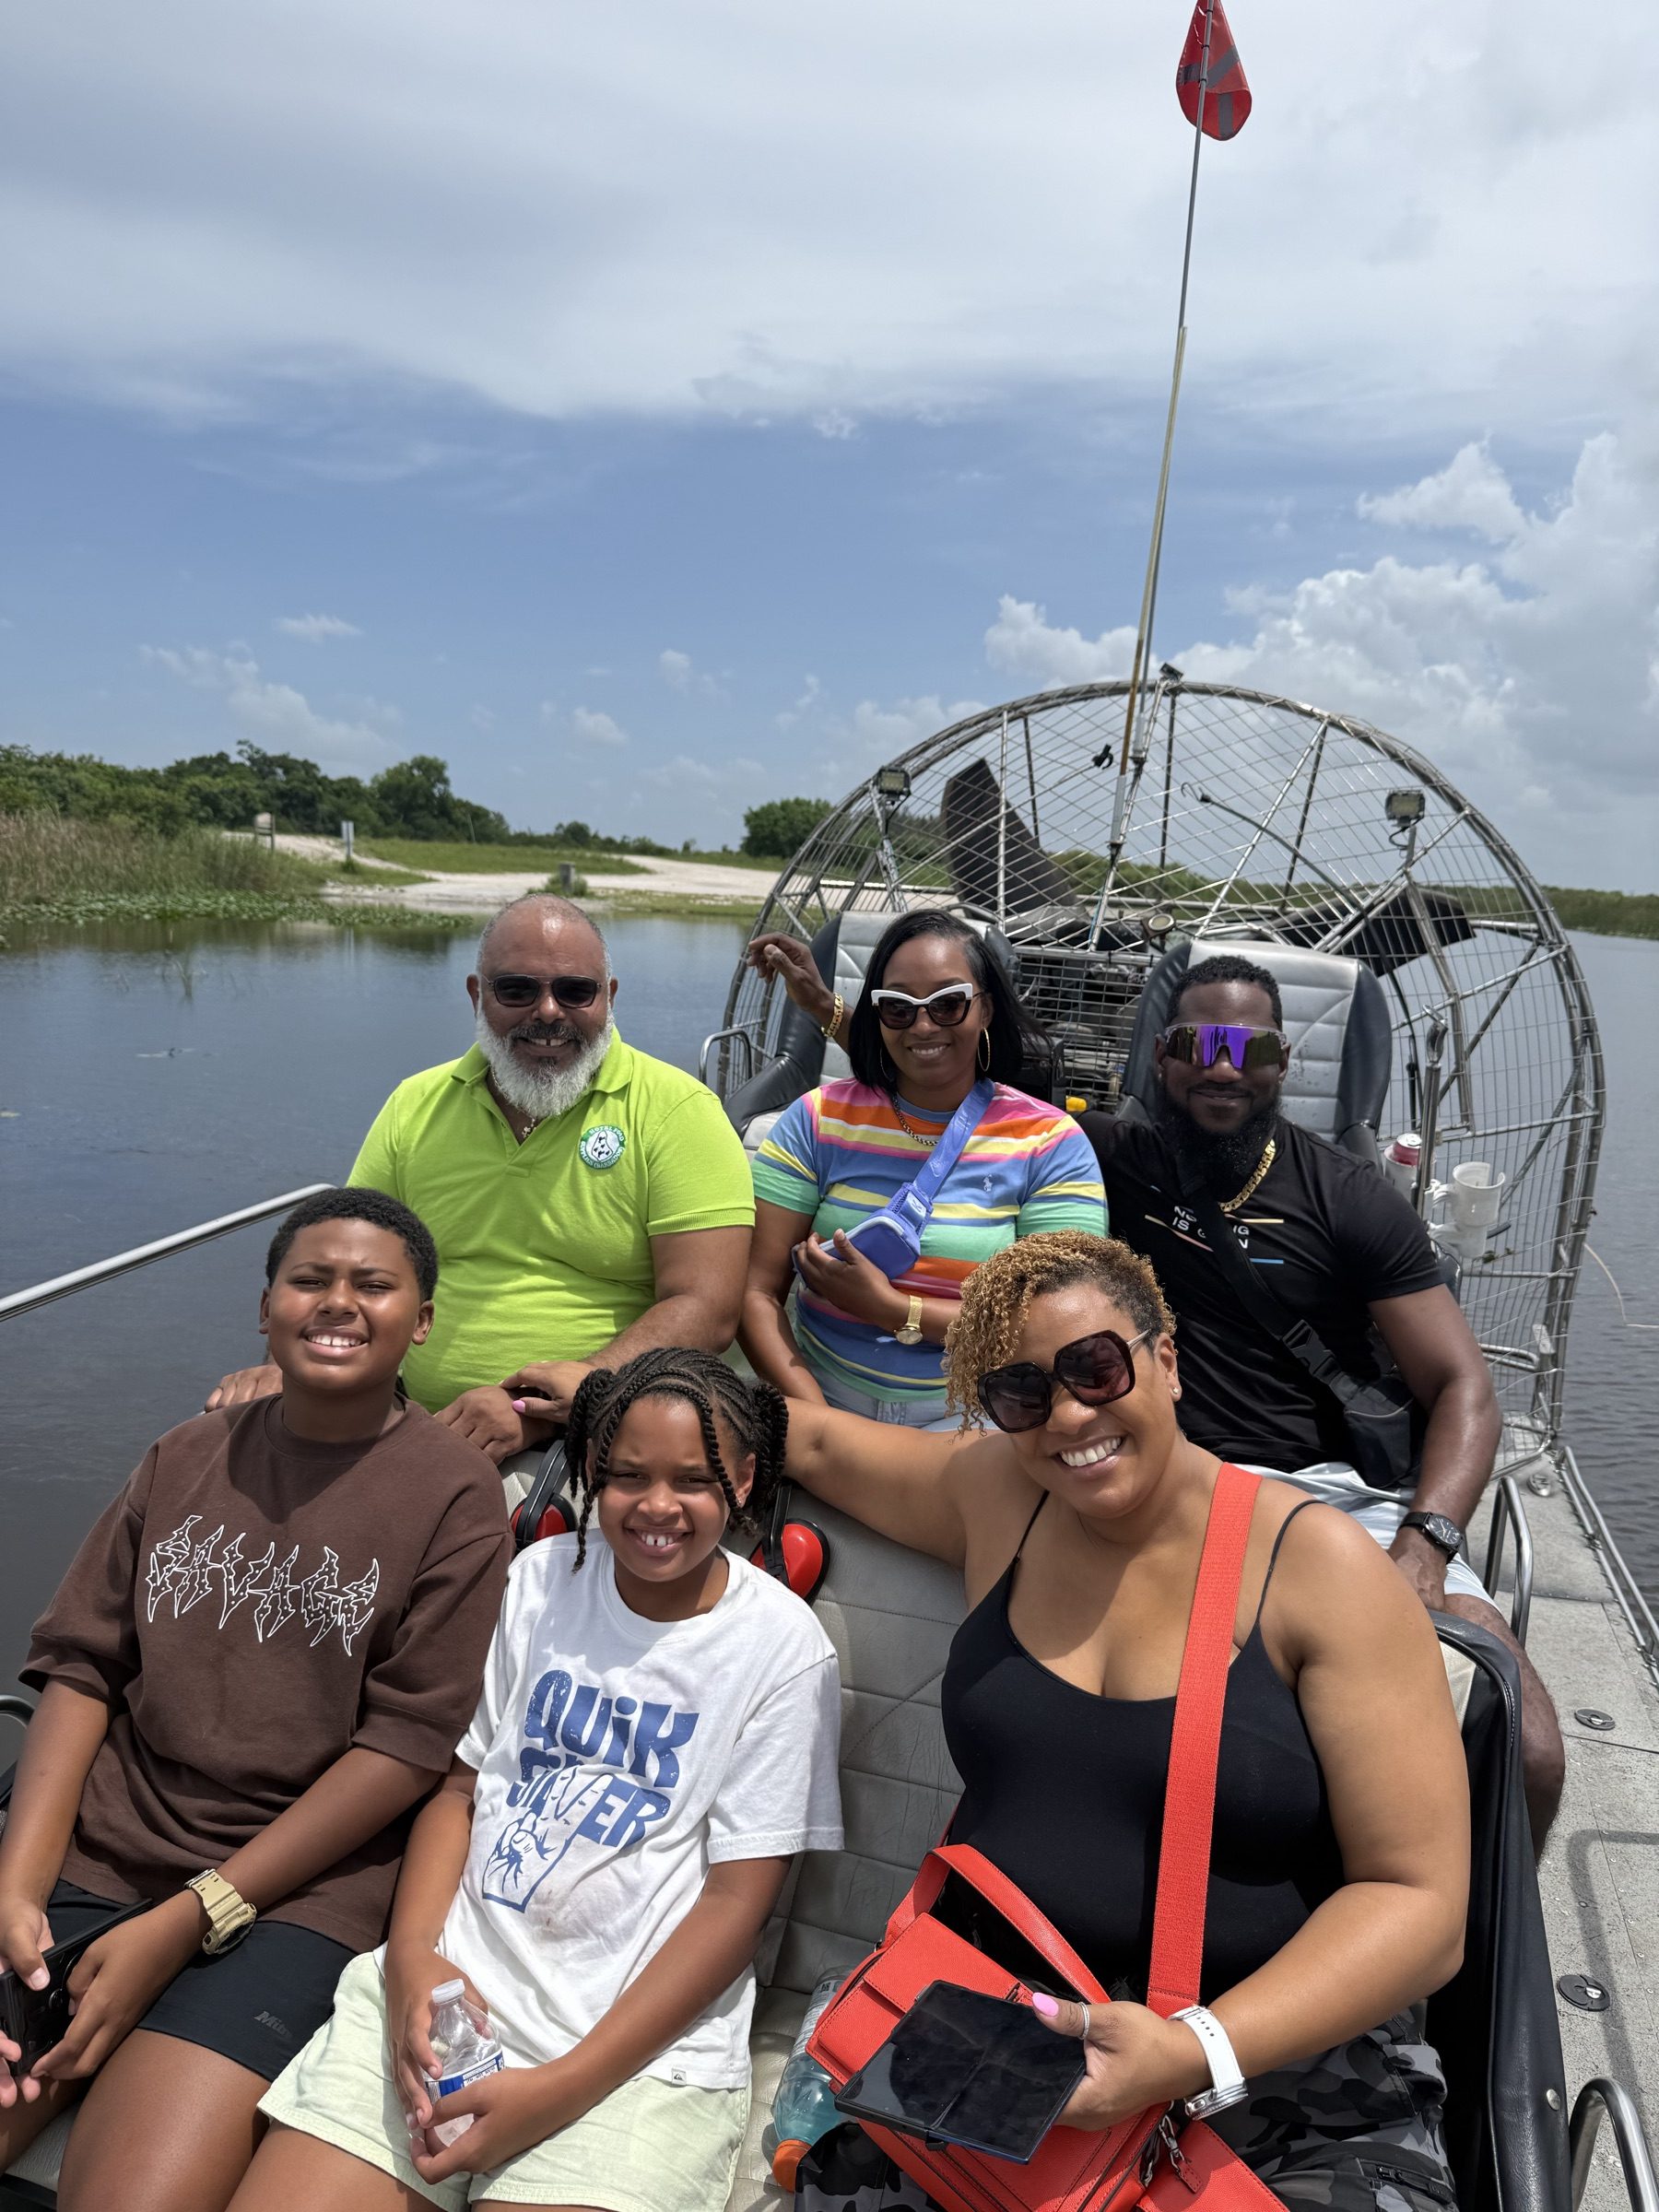
Everglades Photography Tips: Best Shots on an Airboat Tour
The complete guide to Everglades photography tips — camera settings, timing, gear, wildlife technique, composition and phone shooting, so you come home with keepers from your airboat tour.
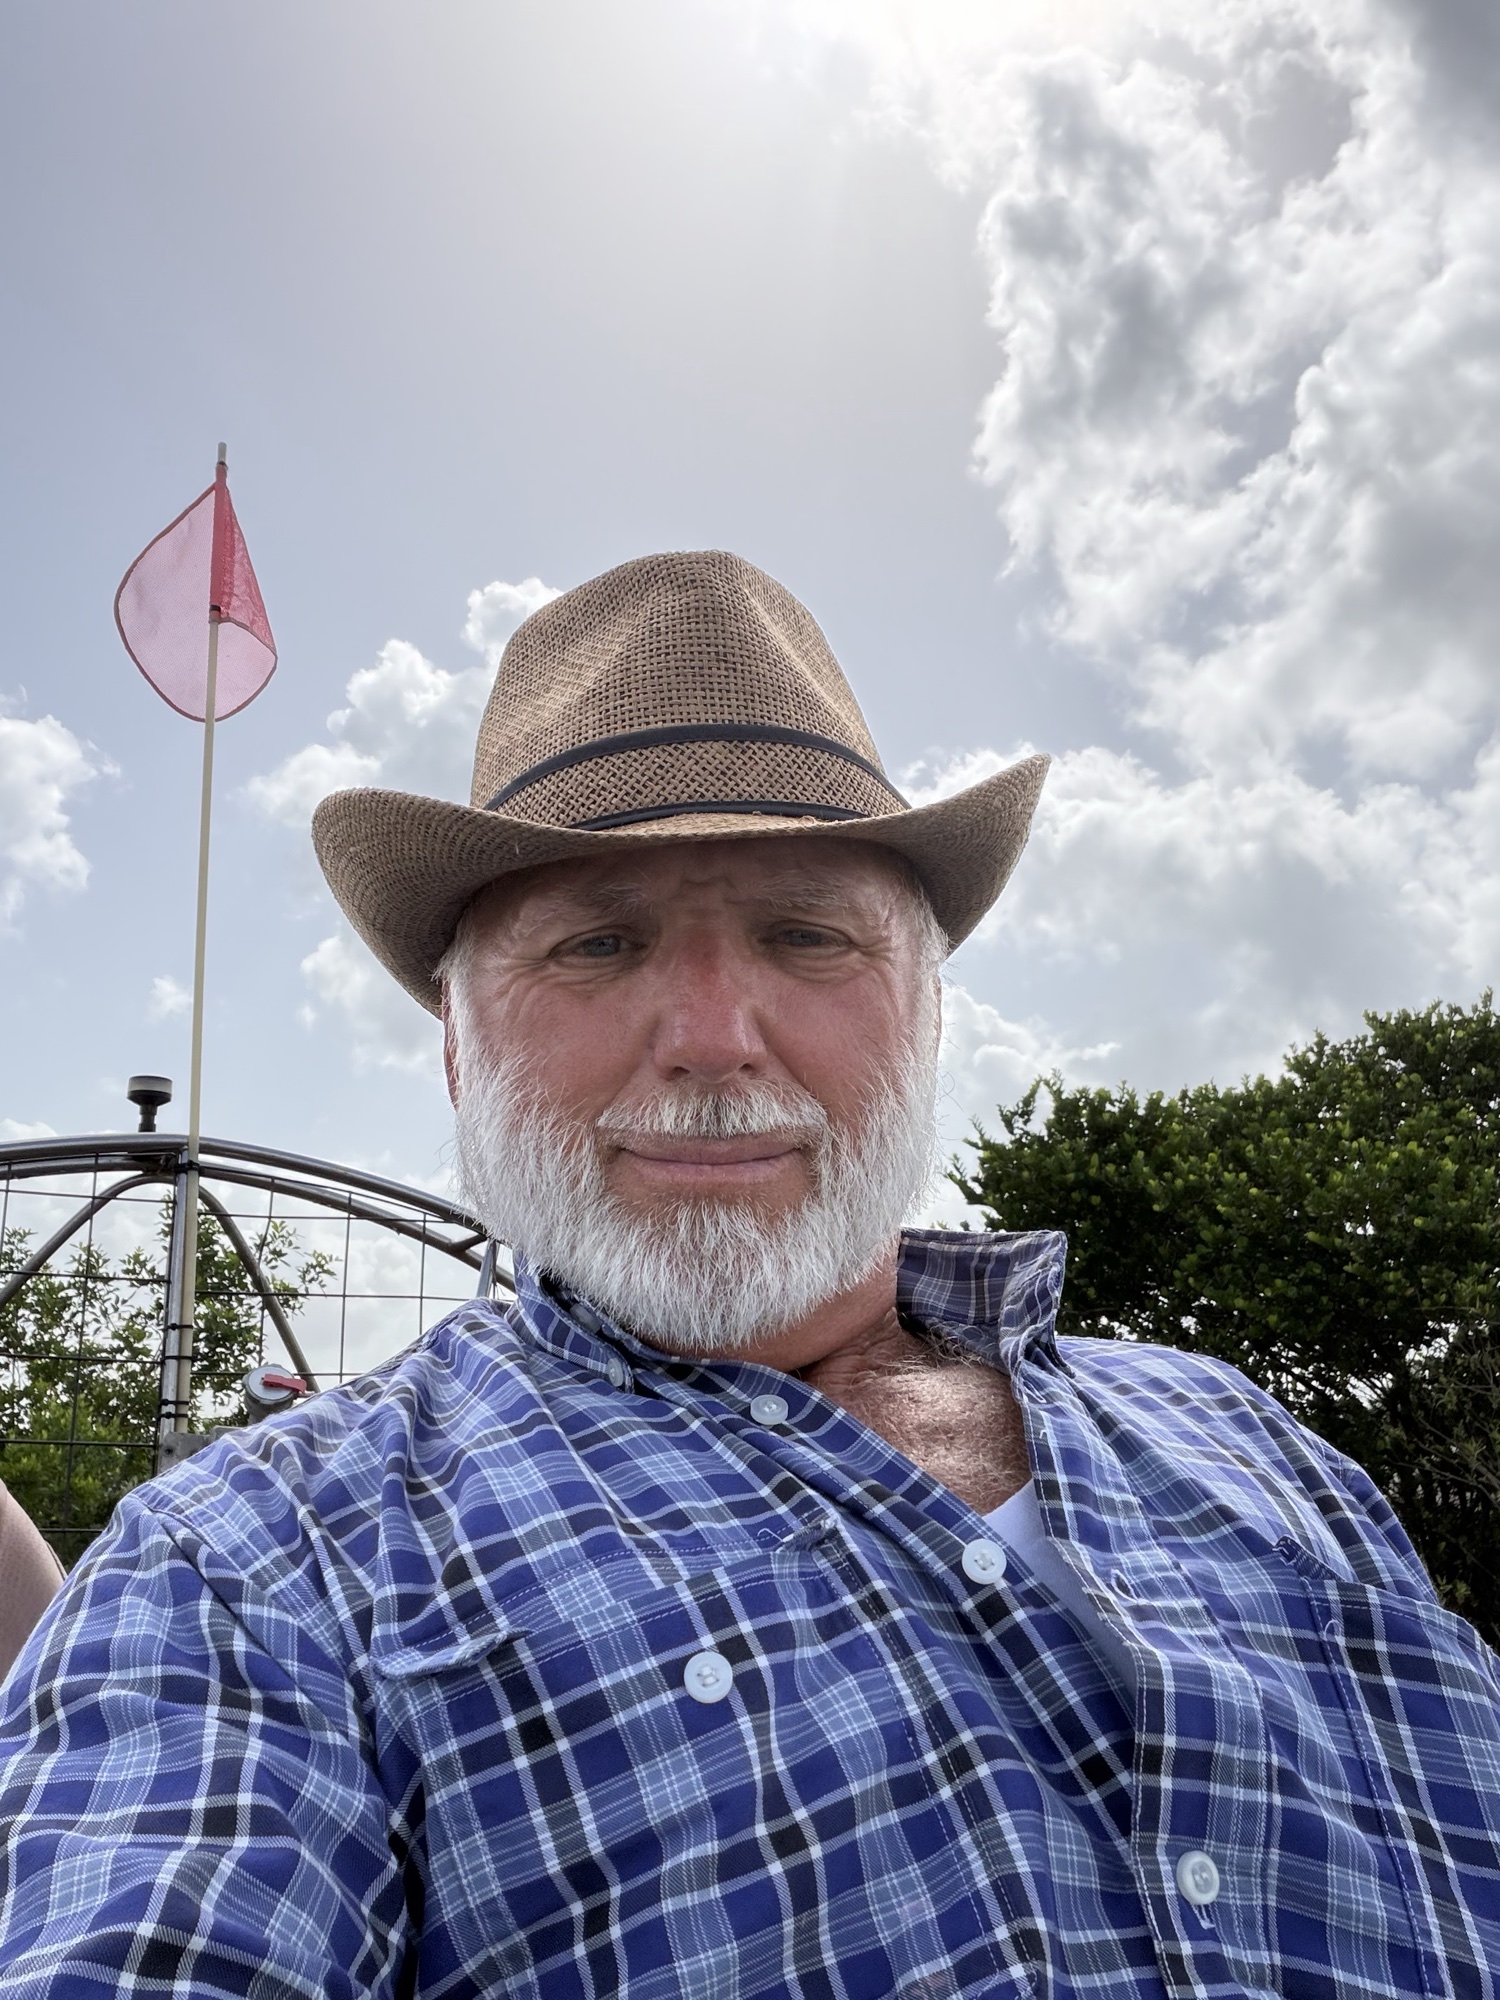 “Text or call me and I’ll get you out on the water — I can’t wait to see you out in the swamp!”— Captain Billy, owner & native Everglades guide
The River of Grass is a photographer's dream, but shooting from a moving airboat has its own tricks. These Everglades photography tips will help you come home with sharp gators, glowing sawgrass and birds in flight instead of blurry misses — whether you shoot a pro rig or a phone.
Few places reward a camera like the Everglades: dramatic light, charismatic wildlife, and endless horizons of sawgrass and sky. But the same things that make it magical — a moving boat, harsh midday sun, fast-moving animals — trip up a lot of visitors. This guide walks through everything from timing and settings to gear and composition so your shots do the place justice.
“Text or call me and I’ll get you out on the water — I can’t wait to see you out in the swamp!”— Captain Billy, owner & native Everglades guideEverglades photography tips start with timing
The best of all Everglades photography tips is simple: shoot at the edges of the day. Golden hour — the first and last hour of light — bathes the sawgrass in warm color and brings wildlife out to feed. That's exactly why a sunset airboat tour is the number-one must-do for serious shooters, with sunrise a close second for glassy water and mist. Midday light is harsh and flat, so plan around the golden windows. Booking direct lets you request the ideal departure time.
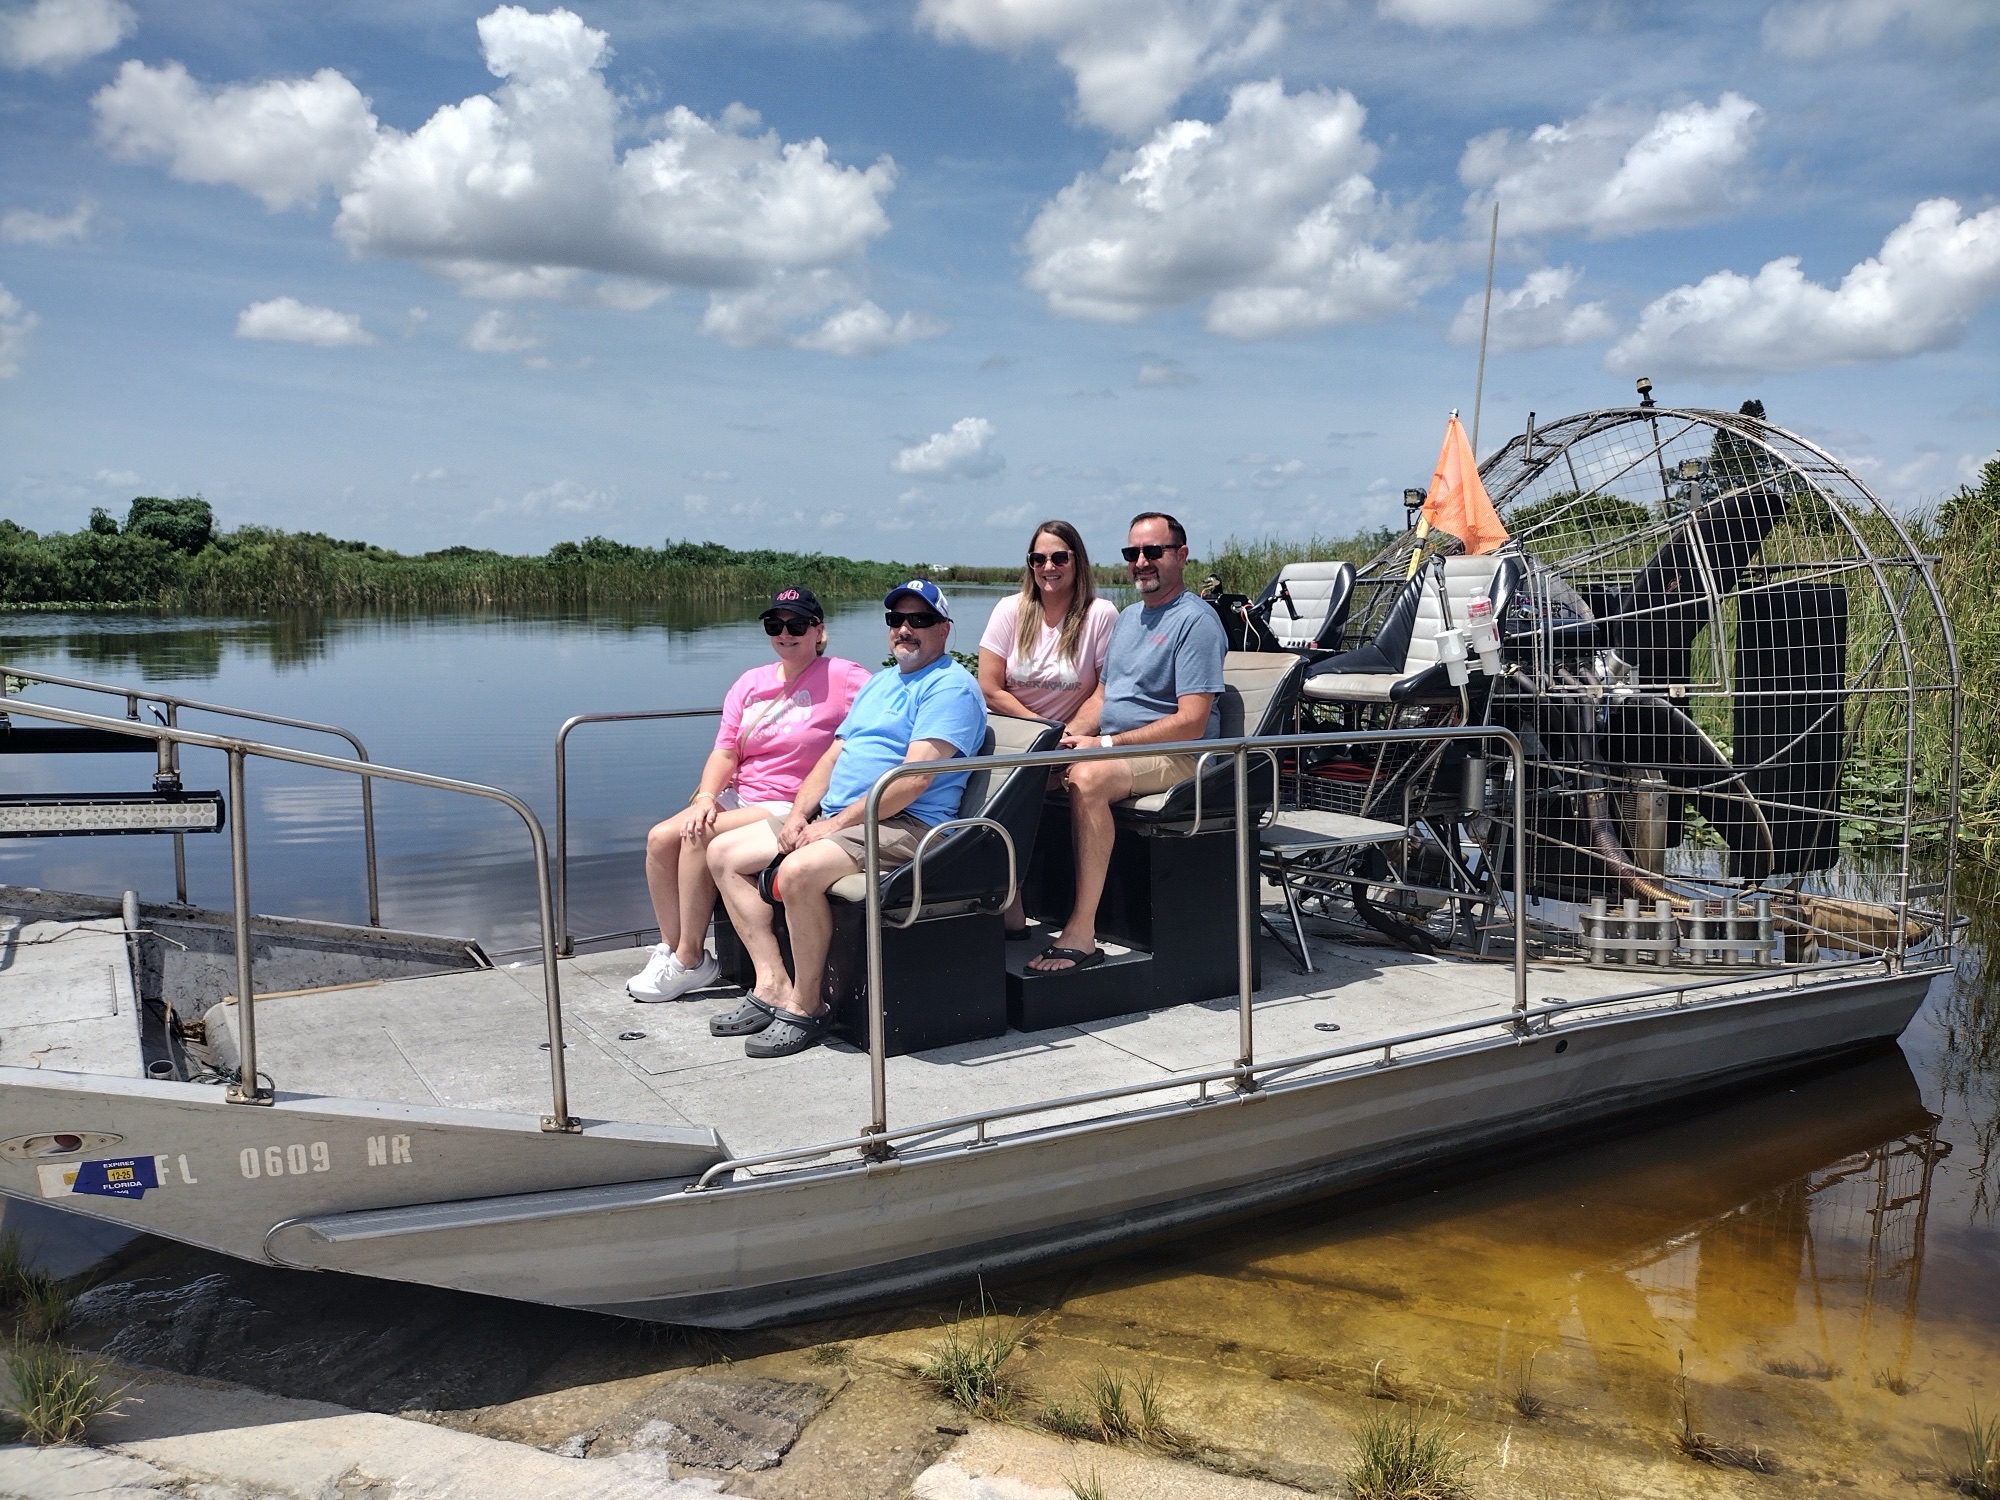
Camera settings for a moving boat
An airboat moves and vibrates, so shutter speed is everything. Keep it fast:
- Shutter speed: 1/1000s or faster for birds in flight; at least 1/500s for gators and scenery from a moving boat.
- Mode: shutter-priority (Tv/S) is your friend — let the camera handle aperture.
- ISO: let it float to auto so you keep that fast shutter in changing light.
- Focus: continuous AF (AI Servo / AF-C) to track moving wildlife.
- Drive mode: burst/continuous, so you can pick the sharpest frame later.
Understanding light and exposure
The Everglades sky is bright and the sawgrass can be dark, which fools camera meters. When shooting into a bright sky, dial in negative exposure compensation so highlights don't blow out, then lift shadows later in editing. For backlit wildlife, spot-meter on the animal. Shooting in RAW gives you the most latitude to recover a dramatic sky or a shadowed gator, and it's worth the extra card space for a once-in-a-trip scene.
Gear that survives the Glades
Bring a zoom in the 70-300mm range for wildlife and a wide lens for landscapes. A lens hood cuts glare off the water. Most important: protect against water and dust. A simple rain sleeve or a dry bag between shots saves your gear from spray. Strap everything down — the last thing you want is a lens in the marsh. A microfiber cloth for wiping spray off the front element is the cheapest, most useful thing in your bag out here.
How to shoot the wildlife
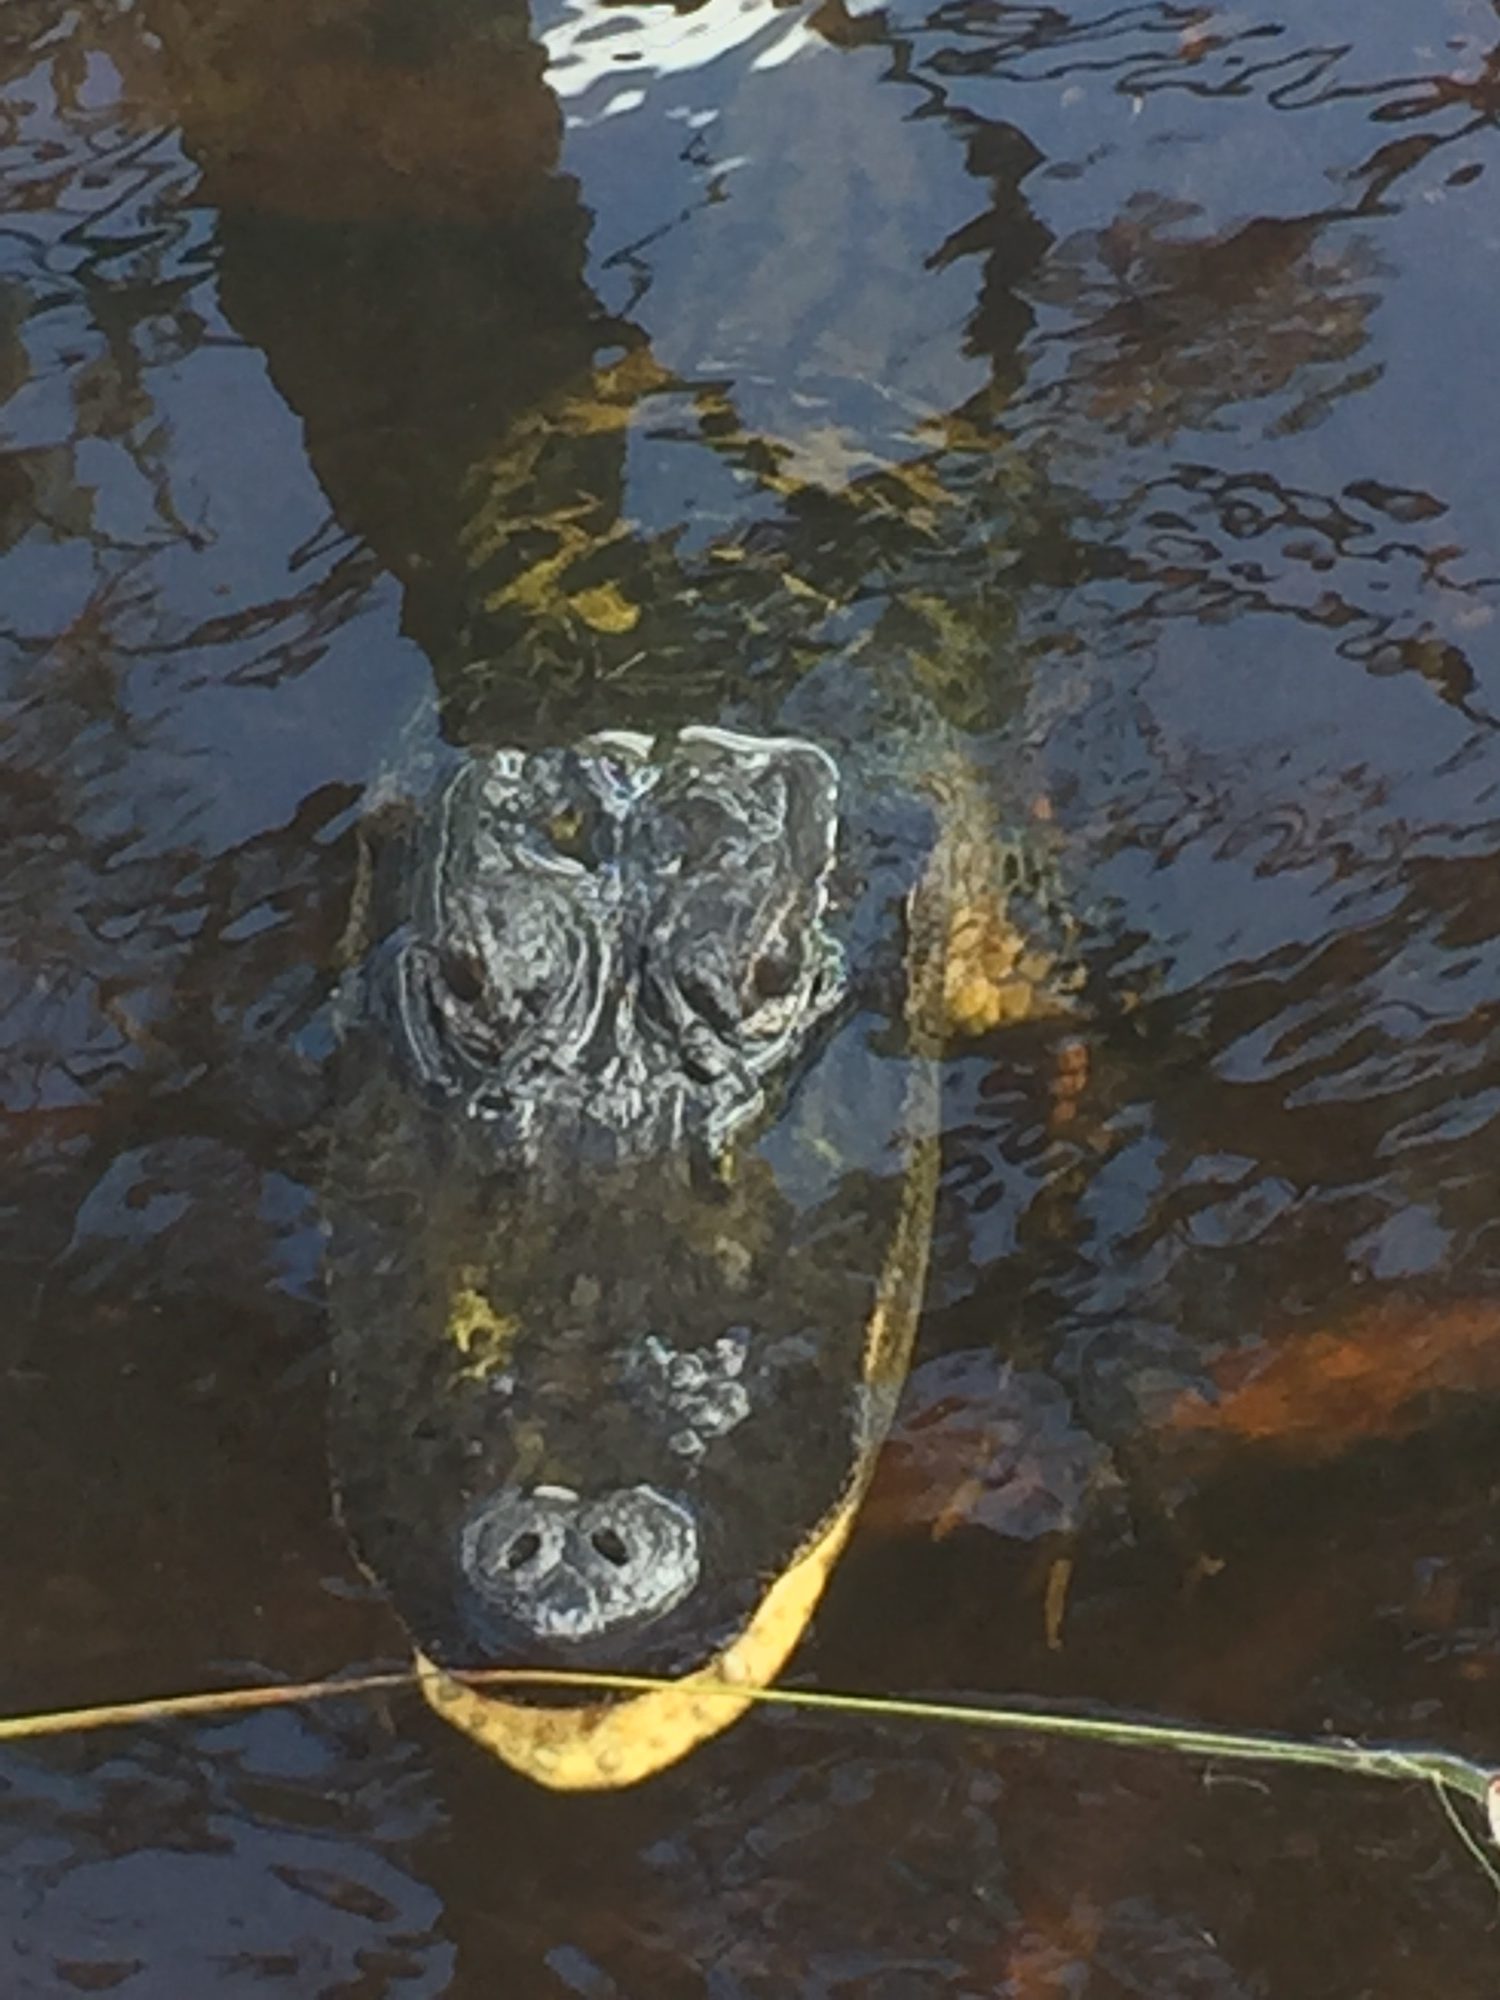
For alligators, get low and shoot at eye level for drama, and expose for the highlights on their wet skin. For wading birds, pre-focus where they're likely to lift off and fire in bursts. Reflections on calm water double your composition — put the horizon high or low, never dead center. Our captains will happily slow down or reposition the boat for a shot, so just ask. Patience pays: wait for the moment a bird spreads its wings or a gator opens its jaws rather than firing at a static subject.
Composition tips for the sawgrass
The Everglades is famously flat, so give your frame a focal point: a lone tree island, a gator's wake, a bird against the sky. Use the endless sawgrass as leading lines toward the sun. Polarizing filters deepen the blue sky and cut water glare beautifully out here. Try both wide establishing shots that convey the scale of the marsh and tight portraits that capture a single animal — the mix tells the story of the place far better than either alone.
Shooting with a phone
No pro rig? No problem — modern phones capture stunning Everglades photos with a little technique. Lock your exposure and focus by tapping and holding on your subject, then drag to dial brightness down so the bright sky doesn't blow out. Use burst mode for birds and moving gators, shoot in your phone's highest-resolution or RAW mode if it has one, and clean the lens (spray happens). Wide-angle handles the sweeping sawgrass beautifully; the zoom is best saved for when the captain gets you close. A cheap waterproof pouch is the best five dollars you'll spend all trip.
Video and slow-motion
Don't forget motion. The airboat's spray, the birds lifting off, and a gator's slow slide into the water all shine in video. Slow-motion turns a wingbeat into art, and a quick time-lapse of the changing golden-hour sky makes a gorgeous clip. Stabilize by bracing your elbows against your body or the boat's rail, and keep clips short so you're not glued to a screen the whole ride — the Everglades deserves your eyes too.
Editing your Everglades shots
A little post-processing takes marsh photos from good to gallery-worthy. Lift the shadows to reveal detail in dark gators and reeds, pull highlights down to save a dramatic sky, and add a touch of vibrance to bring out the greens and golds. Straighten your horizons — the flat marsh makes a tilt obvious. Resist the urge to oversaturate; the Everglades' natural palette is already stunning, and a light hand keeps your images believable.
Etiquette and protecting your shot
A few courtesies go a long way. Never ask the captain to approach wildlife closer than is safe or legal — respectful distance actually makes better, more natural images. Be mindful of other guests' sightlines when you stand for a shot. And back up your files that night; there's nothing worse than losing a once-in-a-trip roseate spoonbill frame. Shoot generously, then put the camera down for a few minutes and just take it in.
Best subjects to photograph in the Everglades
Beyond the obvious alligator, keep your eye out for the shots that define the Glades: a roseate spoonbill glowing pink against green sawgrass, an anhinga with wings spread to dry, a great blue heron mid-strike, reflections of a fiery sky on still water, and the airboat's own spray backlit by low sun. Wide landscapes convey the endless scale of the marsh, while tight wildlife portraits capture its drama. Aim for a mix and you'll tell the full story of an Everglades airboat tour.
Working with your captain for better shots
Your captain is your greatest photographic asset. Tell them at the start that you're focused on photos, and they'll position the boat with the sun at your back, cut the engine near skittish wildlife, and know which spots hold the best subjects at that time of day. Our captains have spent years reading this marsh and can anticipate a bird's takeoff or a gator's move before it happens. A good working rapport with your captain is worth more than any lens.
Seasonal photography considerations
Each season paints the Glades differently. The winter dry season concentrates wildlife around shrinking pools — ideal for packed-frame animal shots. The summer wet season delivers lush green vistas and towering storm clouds that make for dramatic skies (shoot between showers). Migratory birds pass through in spring and fall, adding variety. Nesting season brings baby alligators and busy rookeries. Knowing what each season offers helps you plan a trip around the images you most want.
Safety while shooting
Great photos aren't worth an accident. Stay seated while the boat is moving, keep your gear strapped and your body inside the rails, and never lean out to chase a shot. Wait for the captain to stop before standing for a photo. Protect against sunburn and dehydration on long shoots, and keep a firm grip or a floating strap on anything you'd hate to lose to the marsh. Safe habits let you focus on the images.
Backing up and sharing your work
Once you're home, protect those files — copy them to at least two places before you delete anything from your card. When you share, tag the location so others can find these experiences, and consider the light, respectful editing we described earlier so the Everglades looks like itself. We love seeing guest photos, and standout shots often end up celebrated in our community and our own gallery.
Getting to your golden-hour launch
Golden-hour light waits for no one, so plan your drive to arrive with time to spare before a sunrise or sunset departure. Rushing means missing the best light while you're still parking. Check our pickup locations for the launch nearest you and build in a buffer — the reward is being set up and ready when the marsh lights up.
Plan your trip around the light
If photography is your priority, treat the light as your itinerary. Book a sunrise or sunset airboat tour rather than a midday slot, check the forecast for interesting clouds, and give yourself a second outing if weather doesn't cooperate the first time. The marsh looks completely different at dawn, at dusk, and under a brewing summer storm — and the more conditions you shoot, the richer your portfolio of the Glades becomes.
Common mistakes to avoid
A few errors sink more Everglades photos than anything else: shutter speeds too slow for a moving boat (embrace 1/1000s), blown-out skies from ignoring exposure compensation, dirty lenses caked with spray, and dead-center horizons that flatten the composition. Another big one is chasing every shot and never actually watching the wildlife — you'll miss the best moments staring at a screen. Slow down, dial in your settings before the action starts, and shoot with intention rather than spraying frames blindly.
Gear checklist for your airboat photo trip
Pack smart and light. A camera body with a 70-300mm zoom and a wide lens covers wildlife and landscapes; a polarizer tames glare; a rain sleeve, dry bag and microfiber cloth handle spray. Bring spare batteries and cards, a sturdy strap, and sunscreen and water for you. Phone shooters want a waterproof pouch and a cleaning cloth. Keep it all in one water-resistant bag you can strap down, and you'll be ready for whatever the marsh throws at you.
Come see the results — and book your shoot
Want inspiration before you go? Browse real shots from our trips in the photo gallery. When you're ready, book direct for the golden-hour slot that fits your plan, or call 561-660-2419 to talk through the best ride for photography. An airboat tour is hands-down the top must-do for capturing the wild side of South Florida — and with these tips, you'll do it justice.
Frequently Asked Questions
What camera settings are best for Everglades photography?
Use a fast shutter (1/1000s for birds, 1/500s+ for scenery), continuous autofocus, burst mode and auto ISO. Shutter-priority mode handles the changing light from a moving airboat.
What is the best time of day for Everglades photos?
Golden hour — sunrise and sunset. A sunset airboat tour gives you warm light and active wildlife. Book direct to request the best departure time.
Can I bring a camera on an airboat tour?
Yes — just strap it down and protect it from spray with a rain sleeve or dry bag. Our captains will slow the boat for shots. Call 561-660-2419 to plan a photo-focused ride.
What lens should I bring to the Everglades?
A 70-300mm zoom for wildlife and a wide lens for landscapes cover most situations. See our gallery for shot inspiration.
Can I get good Everglades photos with just my phone?
Definitely. Lock exposure and focus, use burst mode, shoot in high resolution, and bring a waterproof pouch. Modern phones capture stunning marsh shots.
How do I photograph birds in flight from a moving boat?
Set a shutter of 1/1000s or faster, use continuous autofocus and burst mode, and pre-focus where a bird is likely to lift off. Patience and lots of frames win.
“Text or call me and I’ll get you out on the water — I can’t wait to see you out in the swamp!”— Captain Billy, owner & native Everglades guide